Drypoint and Whistler: A Printmaking Process and Exploration

It’s not always easy to do the things you love, whatever it might be, for a number of reasons. After finishing grad school and then facing the pandemic, etching without the necessary studio space and equipment has been difficult. But sometimes, you end up finding another way to pursue what sparks joy. For me, this is drypoint on plexiglass. Without needing the chemicals to etch copper plates, plexiglass and a sharp tool like a dentist scribe is all you need to incise your drawing to print!
I’m already drawn to techniques that are as simple and natural as possible. Although plexiglass is not natural by any means, dry point is simple and unlike etching, doesn’t require chemicals. The plexiglass is quite portable too, which makes it a great printmaking technique to use while traveling.

Whistler, The Traghetto, No. 2, 1879–80, Etching and Drypoint
Whistler is an example of someone who carried his (copper, as it was in the 1800s) plates and scribe with him on his travels. His etchings in Venice actually helped to change the course of his career and pull him out of debt. He was able to capture the light, atmosphere, grit, and rawness of Venice by observing moments, seasons, and people on streets, canals, through balcony windows, and more that others overlooked. Part of his ability to do this was from the portability of his medium. The transcription of his drawings onto plates to be printed later, rather than traditional drawings, created another added dimension as prints have a unique marriage to paper from the printing process that can’t be replicated. The incised lines are impressed into the paper so that ink and paper coexist.

Whistler, Little Lagoon, 1879–80, Etching and drypoint
You can use this technique with any range of subject matter, from realistic to abstract, from minimal to densely filled. Drypoints, just like etchings, can be printed as editions, which is a wonderful way to share more work with others. However, the dry point lines will fade over time due to the way that they are scratched into the plate without any chemical etching, and therefore limit the size of the edition. This just means there will be fewer/rarer amount of prints.
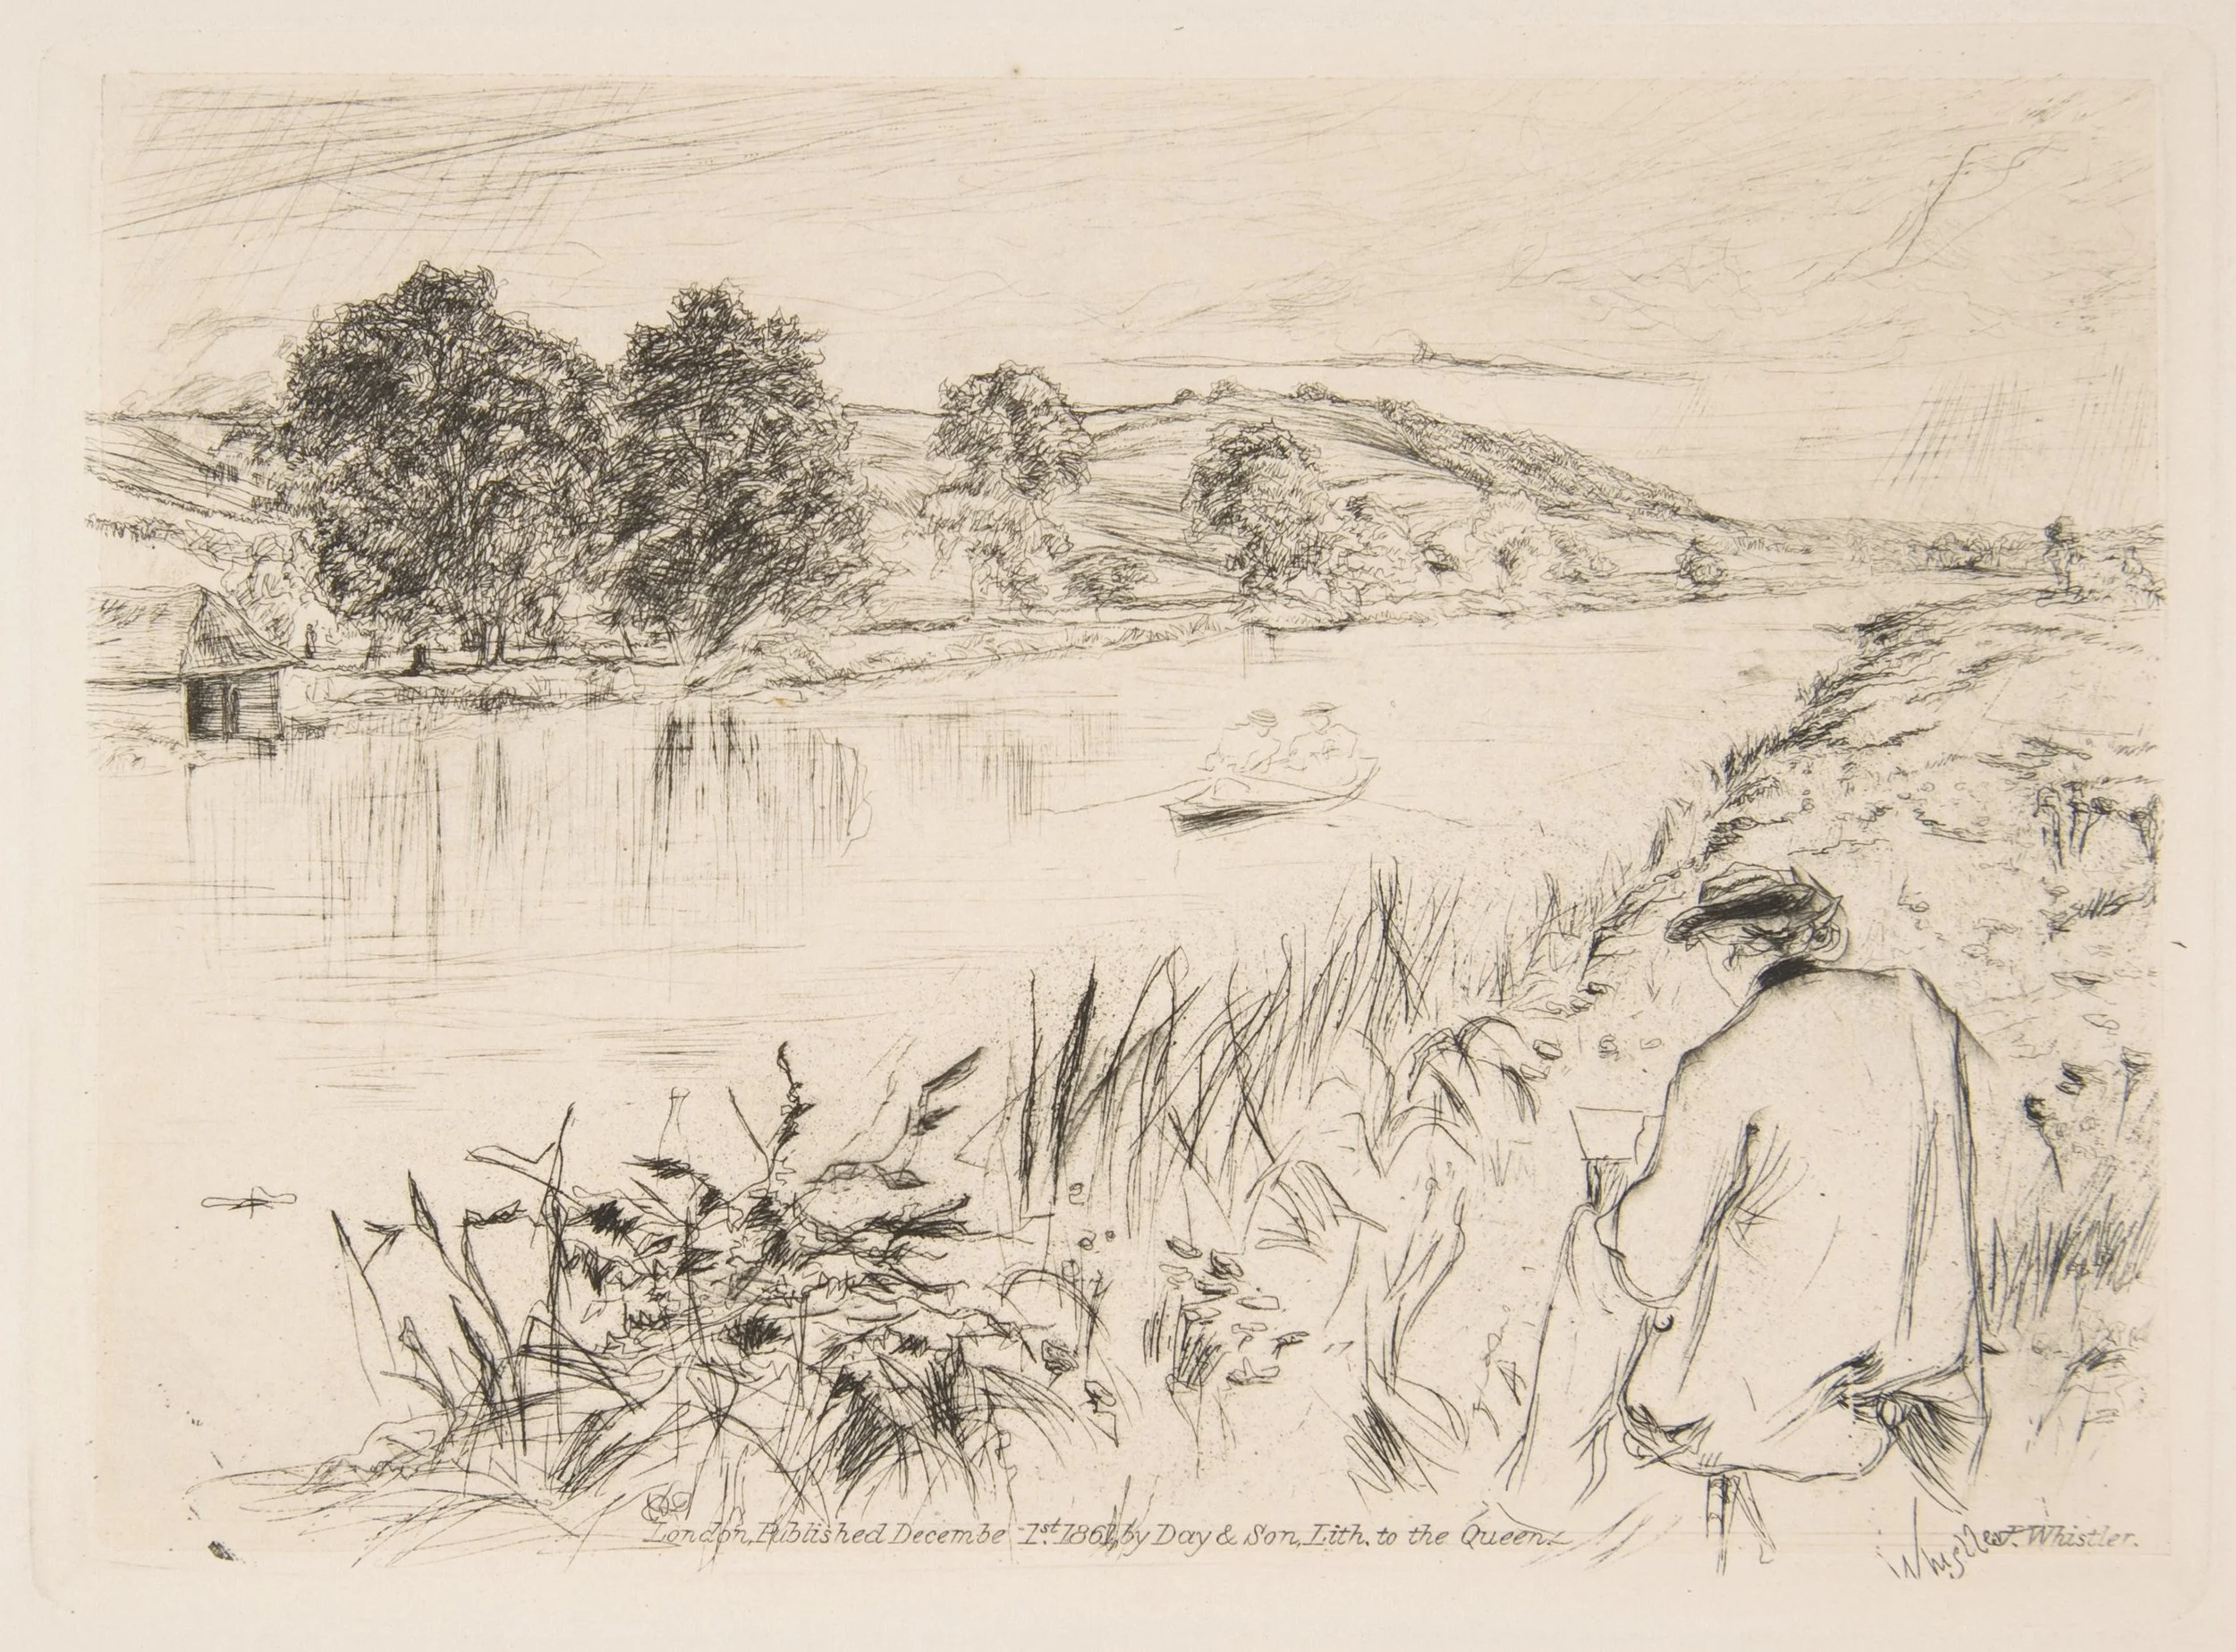
Whistler, Sketching #1, 1861, Etching and drypoint on cream chine mounted on ivory wove (chine collé); fourth state of six (Glasgow)
Are you ready to give it a try? Below is a suggested supplies list to get started:
-Plexiglass (local hardware or craft store: hardware store has more durable, thicker plates, but are usually more expensive too)
-Scribe (any dentist tool, or sharp point like a thumb tack, you can experiment!)
-Printmaking Black Ink (Speedball, or I like Caligo Safe Wash best)
-Printing Press or even a Pasta Maker
-Paper of your choice
Simple Steps:
-Scratch your drawing onto your plexiglass
-Dampen your paper
-Ink up your plate
-Print a proof of your image
-Adjust and draw more until desired result
-Print an edition!
Interested in learning more? Sign up for my newsletter to stay tuned of future workshops and classes. Explore my works available at Tappan Collective. Reach out and say hi on Instagram.
I’m looking forward to creating some drypoint drawings next time I travel and to see how they go ✍️ Let me know if you give it a try!
With heart,
Catherine
*Images sourced from www.metmuseum.org